The humble enamel lapel pin has become a shining star in today’s fashion world. From regular everyday youngsters to the most renowned of designers, pins have been popping up on everything from denim pieces to leather jackets, and backpacks. With their ability to add an individual flair without being too over-the-top, it’s no wonder why these simple accessories are creating such a buzz! Enamels look cool enough for all types of people – even those with varying tastes – making them perfect for anyone who wants to make a statement with their style.
If you’re on the hunt for quality enamel lapel pins, but don’t want to spend a fortune getting them from the stores, then Vivipins is your ideal destination. But why even bother with all that when you can flex your creative muscles and make one yourself? With this step-by-step guide at hand, making your own enamel pin is simple and cheap! So get out there and show off what amazing things you can make with a few supplies!
So here are the things you will need to make your own enamel Lapel Pin:

- White Plastic Shrink Film
- Fine Grit Sandpaper
- Black Permanent Marker
- Round Brush
- Enamel Craft Paint
- Water
- Clear Gloss Enamel Sealer
- Hot Glue Gun
- Lapel Pin
Step 1

Start off by lightly abrading the shrink film using sandpaper. Subsequently, ensure to remove any dust from it before proceeding further. We are etching the plastic to enable a better grip for the paint; however, be careful not to use too much force with your sandpaper or else you’ll end up damaging it in no time.
Step 2
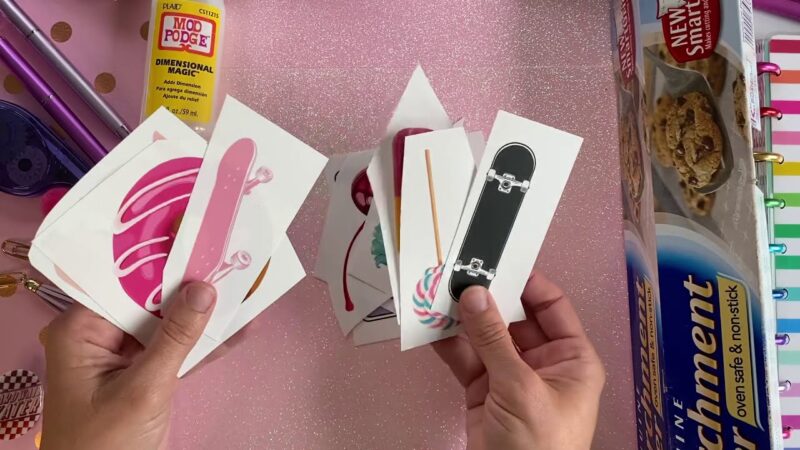
Now that your design is ready, it’s time to create your lapel pin. If you are an artistically talented individual, sketch the outline by hand. Alternatively, use any SketchBook tool available on the market and print out a high-resolution version of the image. Then take shrink film and lay it overtop of the design before tracing around its edges with a permanent marker for a bolder shape that will truly make your lapel pin stand out from others.
Step 3

After the sketch is complete, it’s time to bring your design to life with Enamel paint. Ensure that each color you use is precise as you envisioned and apply a thin layer of paint for best results. Even if some pigments go outside of the black outline frame, there’s no need to fret – simply redraw any imperfections after the painting session has concluded.
Step 4
After your design is complete and the paint has dried, it’s time to cut out the pattern from plastic. Be careful not to mistakenly trim away the black outline – any uncolored space can be filled in afterward for a professional finish! Make sure you’re gentle as well; if you pressure too much on cutting, your hard work may all go down the drain.
Step 5

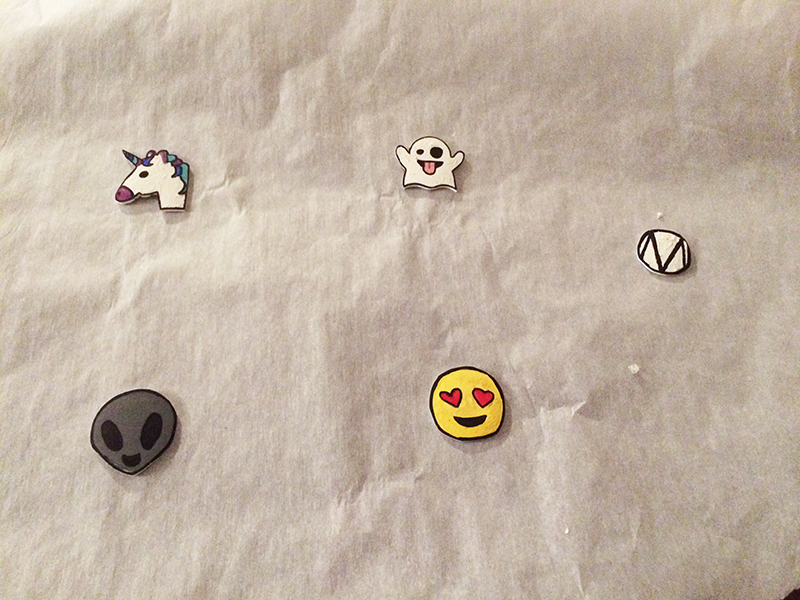
Perfect! We are now ready to shrink our design. Simply place the item on a baking sheet, then pop it into an oven set at 250°F for about 5 minutes – just enough time for the shape to reduce in size. But be careful – when you remove it from the oven, remember that your creation will still be incredibly hot.
Step 6
Allow the design to cool down. After it has cooled, apply a single coat of gloss decoupage for that glossy finish. It’s really quite simple – just dip your brush into the solution and paint over whatever you want to add shine too! Pay close attention to ensure each area is covered thoroughly; we don’t want random patches looking duller than what surrounds them.
Step 7

After the glossy topcoat has dried, you can now attach your design to the lapel pin. When that’s complete, your custom Enamel Lapel Pin is ready to flaunt as a sophisticated fashion accessory.
Hopefully, you were able to craft the perfect Enamel lapel pin with this easy-to-follow guide. If not, don’t worry. Vivipins can create custom pins specifically tailored to your needs.
An enamel lapel pin will go a long way in introducing your personal sense of style and flair. With the tips provided, you can easily create an accessory that is all yours! Show off your unique design with pride and let others admire it too. Enjoy rocking this statement-making piece on any occasion.
Let us know how you found our step-by-step guide – did it work for you, or could we make any improvements? We’d love to hear your feedback and ideas in the comments section below.


