When you are watching your favourite movie wherein the hero is flying or is running through fire, it is most probably a green screen! From movie blockbusters to news broadcasts, green screens are a standard tool today.
Green screens can add amazing effects to any video content. Moreover, with the help of a video maker containing templates that are easy to customise, you can maximise the use of green screens. In this article, we’ll tell you about the ways to use a green screen to create a good impact on viewers’ minds.
1. Set Up a Good Lighting System

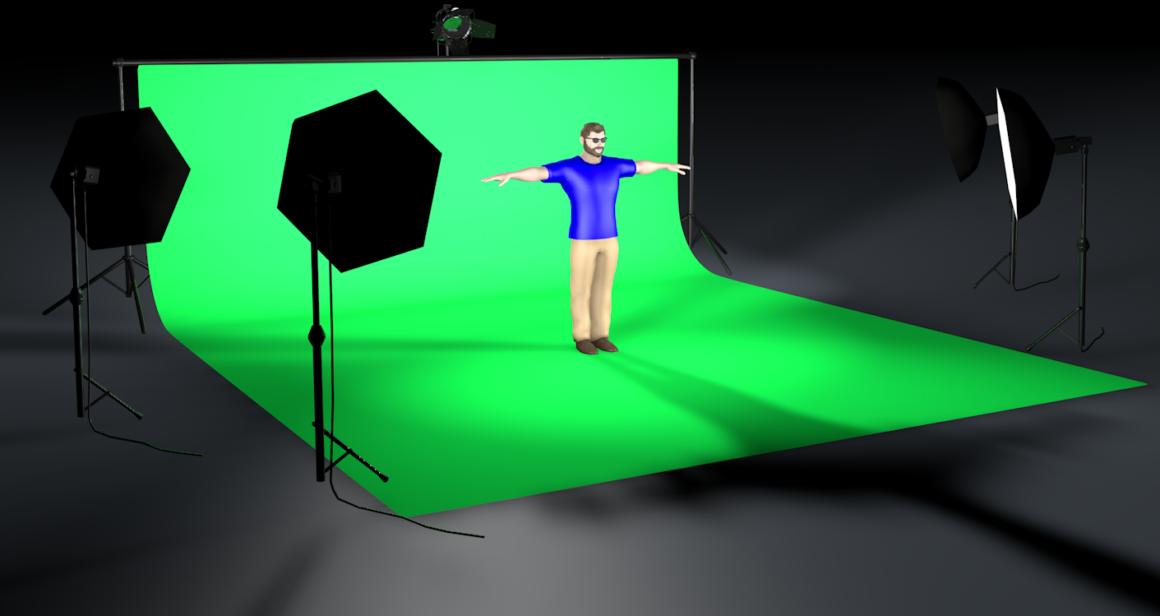
Setting up a good lighting system is one of the best tips to keep in mind. You must ensure that you have a good lighting system which will result in good output. The light should spread evenly on the whole screen for the best results.
The green background needs to be solid. Else, the chroma key software won’t function properly. It will fail to differentiate between the darker green and the lighter one.
When you begin to light up your green screen, ensure that there is a soft and even light on the green screen. Many filmmakers often overlook this aspect and end up losing their veil. However, if you want to be effective, you should ensure that the screen is lit evenly.
Before focusing on the subject’s lighting, you should ensure that your green screen is well lit and looks even. However, you can also play with the brightness and lighting while editing the clips using a video maker.
2. Separate The Background And The Subject
You need to put a distance between the green screen and your subject. By doing this, you can reduce the possibility of shadows on the green background. If the subject is right above the green screen, glued to it, it will be impossible to keep the green screen lit evenly.
This may result in poor output. You should ensure that the subject and the screen are away by a few feet. This way, you can adjust the lights behind the main subject for proper evenness. In all, it will result in a flawless background and which in turn will create a powerful impact on the observer’s mind.
3. Make Your Subject Wear Contrasting Colours

Avoid wearing green in front of the screen as this will blend the colours. Here, the chroma colour will make the green colour disappear. Hence, you should make the subject wear some contrasting colours, to avoid such a situation. However, if you’ve dressed your subject in green on purpose, it will produce the desired effect that is often used to portray an amputee.
Therefore, you should take care of your subject’s clothing, too, in addition to the settings of the green screen. Now, if you realise that there is some issue with the colours, you can also use a video maker to adjust the settings.
4. Camera Settings For a Green Screen

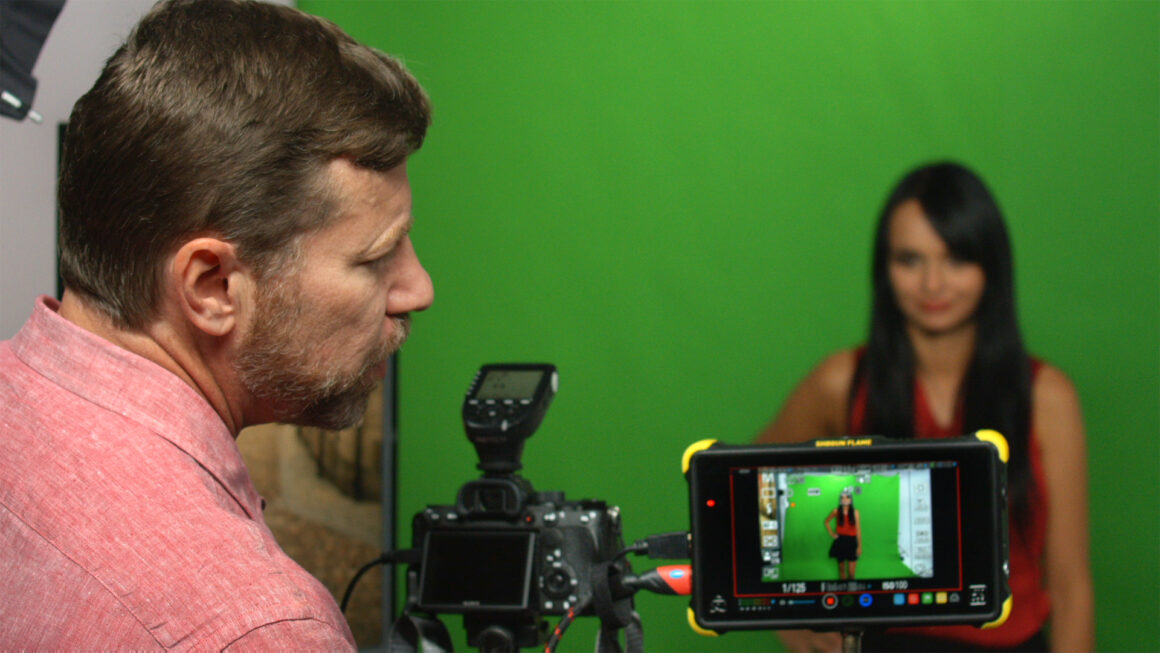
Before starting to shoot and after ensuring that the colour combination is right, you need to look at some essential camera settings. You should ensure that you’ve put on the correct shutter speed and set the aperture, format, and ISO standards. This way, the result will come out to be highly impressive.
Apply a High Shutter Speed
If you want to prevent motion blur, consider setting your camera to a high shutter speed. If the subject is stationary, for example, while filming a news telecast, you need to set the shutter speed to double the frame rate. However, if a lot of motion is taking place in front of your green screen, ensure that the shutter speed is set to a high number.
Also, if you’re shooting an action sequence, then set the shutter speed to 1/80 or 1/100. But you must note that the shutter speed shouldn’t be too high, else the exposure of your image will be forced to change.
Using a Low Aperture
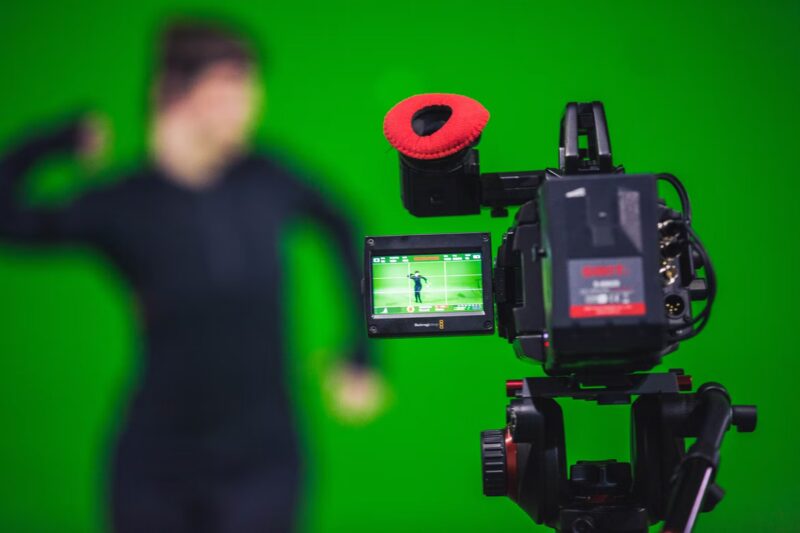
With a good amount of distance between the green screen and the subject, if you focus on the subject sharply, then the green screen will appear softer. This softness of the green background will help it to blend more smoothly and as a result, the green screen will come out to be a success.
Adjust ISO
The ISO determines the camera’s sensitivity. If the ISO is very high, it will lead to footage graining. Thus, leading to difficulty in the chroma keying process. Note that every camera has its own ISO, and it widely differs according to the camera. The native ISO of your camera should be the best one.
Format
You should make sure that you set your camera to the best recording format it has. Moreover, ensure that the format is compatible with your editing software. If it’s compatible, you can consider using a video maker for editing and enhancement purposes.
5. When To Use a Green Screen/ Blue Screen

Green isn’t the only colour that the editing or video software can identify. Often, people also use a blue screen for shooting purposes. People use a blue screen for videos and such because of some of its special aspects such as lower luminosity.
Thus, it makes it ideal for low-lighting shoots. Blue screens contain less spill around the edges of a key as compared to a green screen. But, a blue screen has a certain disadvantage to it too. Usually, most items and designs contain blue instead of green.
Final Thoughts
Green screens help with VFX, movie-making, and performing dangerous scenes safely. If done correctly, the viewer will never be able to differentiate between real life and scenes made with a green screen.
We hope our tips help you use green screens effectively and be better at film-making. Apart from utilising these, bring your A-game while editing the video clips using a video maker for better effects!


